
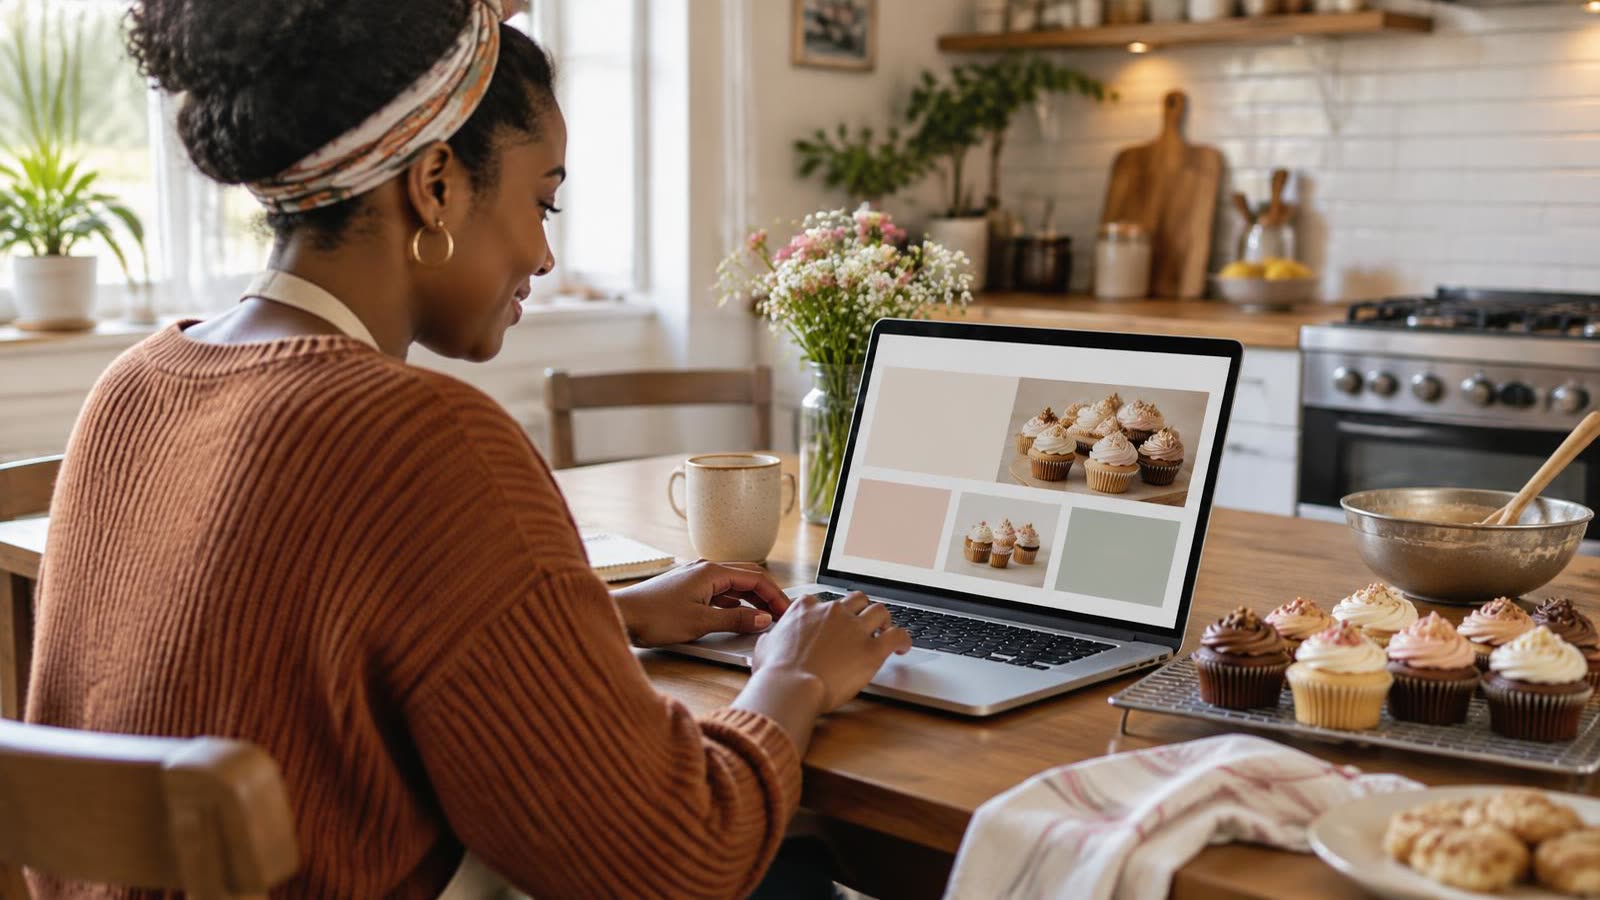
A side hustle can grow surprisingly far on word of mouth alone. A neighbor tells a friend about your dog-walking, a coworker raves about your cakes, a satisfied client passes along your name. But sooner or later, potential customers will do what almost everyone does before spending money: search for you online. If nothing comes up, or only a scattered social media profile does, some of them will move on to someone who looks more established.
A simple website solves that problem. It gives people a place to see what you offer, check your prices and get in touch. And while building a website used to mean hiring a developer or wrestling with complicated templates, AI app builders now let you describe the site you want in plain English and get a working version in minutes.
Why a side hustle benefits from its own website
A website makes you look professional and trustworthy. Customers are often more comfortable paying someone who has a clear, dedicated site with real information, rather than only a social media page. It also works for you around the clock, answering common questions about services, prices, hours and service areas while you're busy with your day job.
Just as important, a website is a home base you control. Social media platforms can change their rules, reduce how many people see your posts or even suspend accounts. Your website stays put, and you can share its link everywhere: on social profiles, business cards, flyers and email signatures.
What an AI app builder does
AI app builders let you create a website by describing it rather than coding it. Lovable is one popular option. You type a request such as, 'Build a one-page website for my dog-walking business with a section about me, my services and prices, customer reviews and a contact form,' and Lovable generates a working site you can preview right away.
From there, you refine it the same way. You might ask it to make the buttons green, add a photo gallery, change the headline or include a section about your service area. Each request updates the site, so you can shape it step by step without touching code. When you're happy, you can publish it to a web address, and you can connect your own domain name if you purchase one.
Step 1: Plan before you build
The biggest mistake people make with any website builder is starting without a plan. Spend 15 minutes writing down what your site needs to accomplish. For most side hustles, a single page with a few clear sections is plenty.
Start with what you do and who you help, in one or two sentences a customer can understand instantly. Then list your services and prices, or at least a starting price, since many visitors leave if they can't get a sense of cost. Add photos of your work if your business is visual, such as baking, crafts, photography or home projects. Gather a few reviews or testimonials from happy customers. And decide how people should contact or book you, whether that's a form, an email address or a scheduling link.
Step 2: Describe your site clearly
The more specific your request, the better the first draft will be. Include your business name, the sections you planned, the style you want and your colors if you have them. Instead of 'make me a bakery website,' try something like: 'Create a warm, friendly one-page site for Rosa's Custom Cakes with a large photo at the top, a short welcome, a menu of cake sizes with starting prices, a gallery of six cakes, three customer reviews and an order request form. Use soft pink and cream colors.'
Once the first version appears, review it carefully and ask for changes one at a time. Small, specific requests usually work better than trying to change everything at once.
Step 3: Replace placeholders with your real content
AI tools often fill in placeholder text and sample images to show the layout. Replace every bit of it with your own words and photos. Keep your writing simple and direct: short sentences, real prices and an obvious way to contact you. Make sure every claim on your site is accurate, including any certifications, insurance or guarantees you mention.
Good photos make a huge difference. Use clear, well-lit pictures of your actual work. A few great photos beat a dozen mediocre ones.
Step 4: Publish and share
When your site is ready, publish it and test it yourself on both a phone and a computer. Click every button, submit your contact form to make sure it works and check for typos. Then share it everywhere: add the link to your social media profiles, include it in your email signature and print it on business cards or flyers. Ask happy customers to mention it when they refer friends.
Things to keep in mind
Always review what the AI creates. AI tools are powerful, but they can make mistakes, such as broken links, odd wording or forms that don't send messages where you expect. Test everything before you share your site widely.
Protect customer information. Only collect the details you truly need, such as a name, email and a brief message. Never store sensitive information like payment card numbers yourself; if you take payments online, use a reputable payment processor.
Understand the costs. Lovable and similar tools typically offer a free plan with usage limits, with paid plans that add more usage and features. A custom domain name is usually a separate small yearly cost. Plans and prices change, so check current details before you commit.
Finally, keep your site updated. An outdated price, an old phone number or a closed service area can cost you customers and trust. Set a reminder to review your site every few months.
Content on The Evergreen Edit is for educational and informational purposes only and is not individualized financial, investment, tax or legal advice. Learn more.
This article is for educational purposes only and isn't personalized financial, tax or legal advice. Consider talking with a qualified professional about your situation.

Kiara Miller — Founder & Editor
Kiara Miller is the founder and editor of The Evergreen Edit. He has been doing independent finance research for two decades and reviews every article before it's published.
More about Kiara →Get smarter about your money.
Join readers who get The Sunday Edit every week.